Jarvee is an automation tool where users can create and manage multiple accounts from social media. It can be used on all the biggest social media platforms. Jarvee will help users automate any tasks like scheduling posts to liking and commenting on other people’s posts.
Most websites, especially social media platforms, restrict the number of accounts a single IP address can create. This varies from website to website but it’s usually only limited to a few accounts and any exceeding account would be immediately banned. The use of bots or any other automation tool is also heavily restricted by most websites and will also result in a ban on your account.
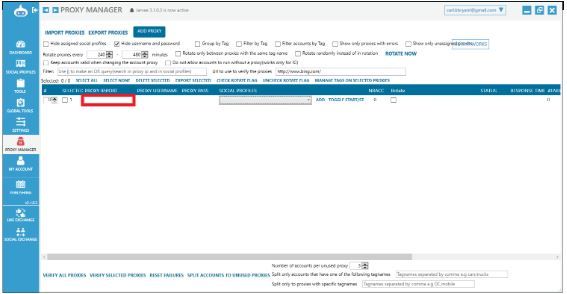
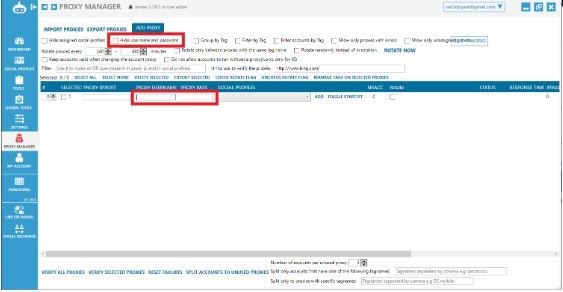
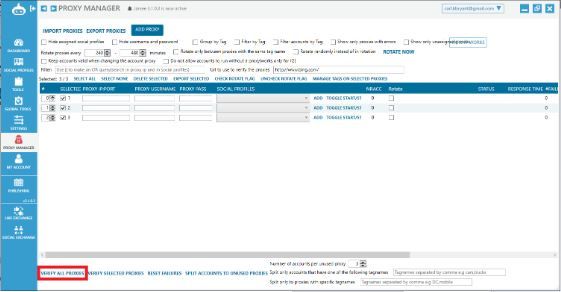
To bypass these restrictions and use a bot without getting banned, you need to utilize a Jarvee proxy. Through a proxy, each time you create a new account, it would have a different IP address attached to it which bypasses the account limitation. A Jarvee proxy will also deceive any website into thinking that your bot’s requests are from genuine users and not from a bot.
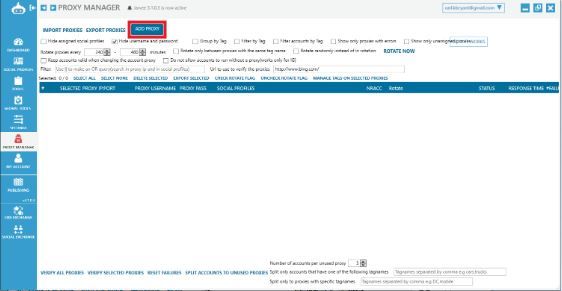
Let’s set up a Jarvee proxy server.