SEnuke is a Search Engine Optimization (SEO) tool that helps users increase their website’s rank on Google. SEnuke conducts thousands of searches for your specific keywords on the Google search engine, which makes it look like various users are searching for it instead of it coming from a single computer. SEnuke is a premium tool and can only be used when you avail their monthly subscription plan.
To effectively deceive Google into thinking that your thousands of keyword queries are from multiple users, you need to pair SEnuke with a SEnuke proxy. You would need a single IP address for each simulated user you want, so if you want thousands of users and maybe even more, then you also need the corresponding amount of IP addresses. Fortunately, most proxy providers have millions of IPs in their IP pool that you can utilize.
Depending on what you want, the best SEnuke proxies would be either datacenter proxies or residential proxies. If you want a faster internet connection and reduced latency, then datacenter proxies are the best for you. If you want full assurance that you won’t be blocked when using SEnuke, then residential proxies are the ones for you.
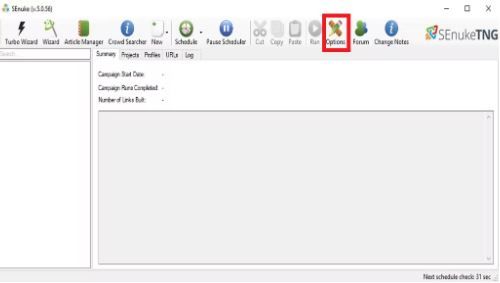
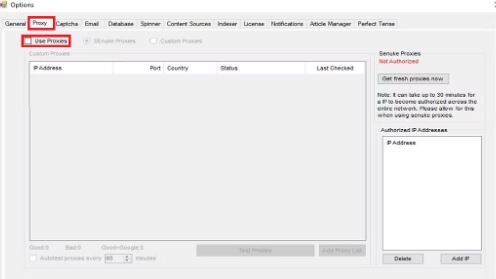
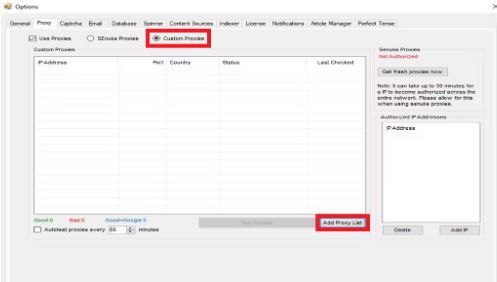
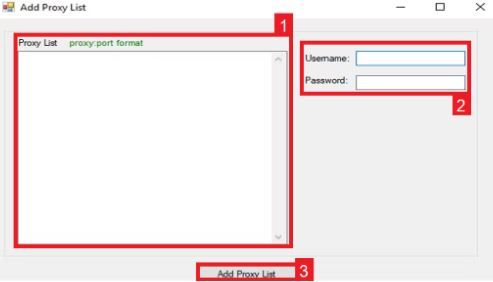
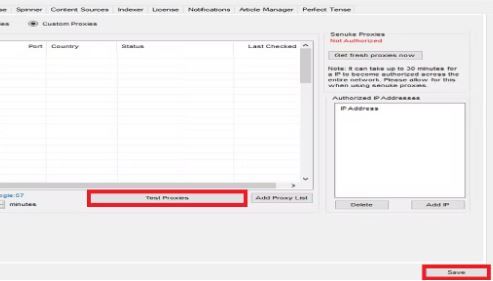
Let's set up a SEnuke proxy server.